Share
Pin
Tweet
Send
Share
Send
And so that the young lady also looks stylish, we will make a hat for her, which is fastened with a hairpin, and two boutonnieres on the handles.
Before you start, you should decide on the number of stars you need. Here: 2 buttonholes and one hat. Two more felt stars went to the boutonnieres, two smaller stars, two stars made of metallized cardboard. A hat needs one felt star (the largest), one cardboard (slightly smaller), the third felt - even less cardboard.
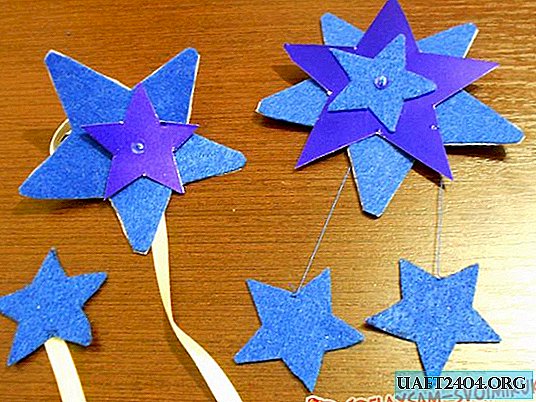
Four more small felt stars will be needed for pendants.
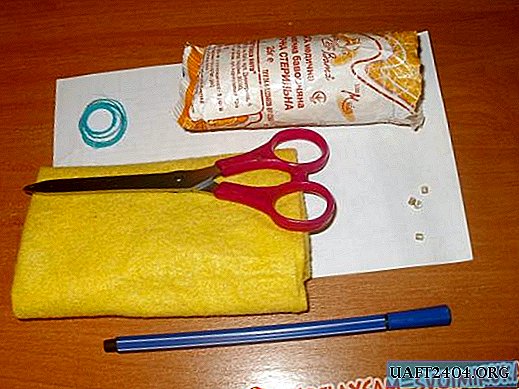
Materials:
- metallized color cardboard - 1 sheet;
- color felt - 1 sheet;
- non-woven - 40 x 60 cm.;
- rubber tape - 40 cm .;
- tape 0.5 cm. - 30 cm.;
- hairpin - 1 pc.;
- threads
- sequins, beads or bugles - 3 pcs each.

Hat and boutonniere instructions
1.On the back of the cardboard we draw stars.

2. Cut them along the intended contour.

3.On a sheet of artificial felt for creativity, draw stars.

4. Cut them out.

5. Felt stars are laid out on the non-woven. We place them as close to each other as possible. Iron with an iron.

6. Cut off the interlining from the blanks of stars. We try not to seize the felt base.

7.Fold out the stars on top of each other, forming two buttonholes and a hat.

8.With the help of an awl we make a hole in the center of the sprockets stacked on top of each other. We fasten them together with sequins and beads. With a turn, we fix the thread on the felt star.

9. We measure the girth of the wrist of the child. Cut off two rubber bands of the same length (adding 1 cm. For overlap). Sew the elastic bands to the felt base of both buttonholes.

10. Sew a small felt star to the ribbon (15 cm.). Sew the other end of the tape to the elastic at the boutonniere.

11. Repeat the same with the second boutonniere.

12. We snap the hairpin to the back of the star-hat.

13. The remaining two small felt stars are fixed at the edge of the star-hat on threads of convenient length (here 8 cm).

Share
Pin
Tweet
Send
Share
Send