Share
Pin
Tweet
Send
Share
Send
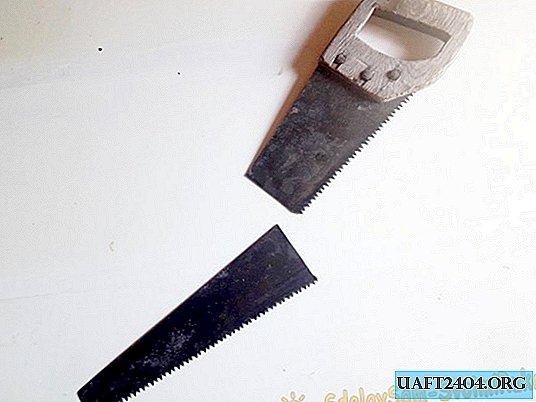
Any tool sooner or later fails. If an electric tool can still be repaired at least somehow and used for some time, then a thing like a hacksaw, a hammer, a chisel and other primitive tools is almost impossible to restore. It’s easier to buy new ones, due to their cheapness and affordability. But some broken tools can be given a second "life". For example, a hacksaw.

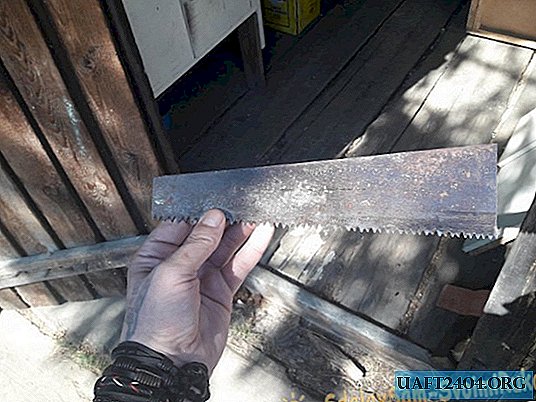
The metal that the hacksaw blade is made of is very good, and you can make a couple of useful things from it. After going through many possible options that can be made of debris, I opted for a small saw blade, and a mini hacksaw that you can take with you on foot to the forest. The work ahead is the simplest, easiest, and not long.
You will need:
- Broken (or old, unnecessary) hacksaw.
- 4 mm aluminum wire.
- Cold welding.
- Rope (thin).
- The tube is plastic or metal.
- Emery machine with cutting blade.
- Marker.
- Ruler.
- Drill.
- Drills on 2 and 4 mm.
- Compass with a simple pencil.
- Drill with cutting and grinding discs.
Making a mini hacksaw and saw blade
Let's start with a mini hacksaw. Everything is as simple as that. Using a ruler and marker, you need to draw the contours of the future product on a piece of cloth. The most important thing is not to forget to leave whole teeth underneath the workpiece so that you do not have to cut them yourself later.

We cut the workpiece along the drawn contours.


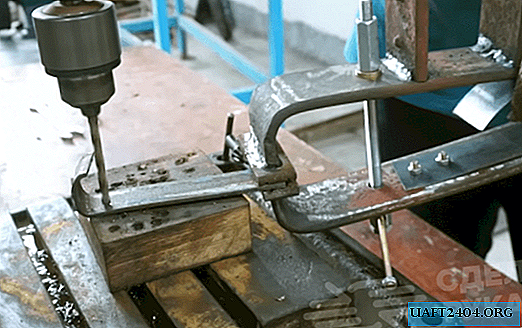
Next, you need to drill with a drill and a drill for 4 mm holes on the basis of the future handle, under aluminum rivets.


Now let's handle it. I did not bother with cutting, but simply took a piece of plastic tube, suitable gauge. So, measure the required length of the tube.

We transfer the parameters of the holes, relative to each other, from the workpiece to the pipe segment, and drill. 4 mm drill.

We stick an aluminum wire into the handle hole, measure the distance needed for riveting, cut the rivets, insert into the holes, and rivet. Carefully so that the rivet does not bend inside the tube.


Now wrap the handle and make the top so that the mini hacksaw has a finished look. For winding, I chose a simple coarse rope.

Wrap the handle as tight as possible. Gently, turn to turn. And preferably in two layers (16). For the top I used cold welding.

Knead the glue, according to the instructions, and fashion the desired shape of the pommel.


Glue residues can cover the holes in the handle, from the side of the canvas.


It remains to sharpen the teeth, and polish the canvas. For sharpening, I used a thin disk on the drill. Although, you can file.

You can grind the canvas with sandpaper, or with a grinding disc on the drill.

Here's what happened:

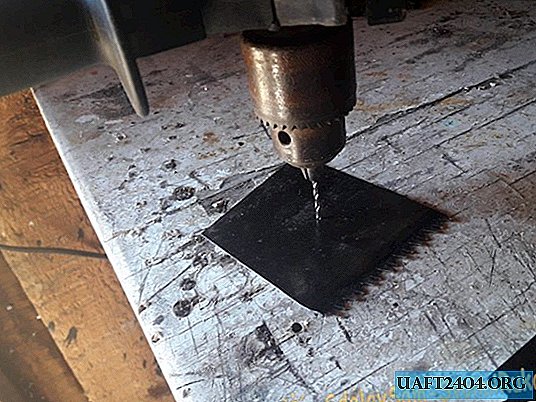
Now the saw blade. It's still easier. In the middle of the piece of canvas, the area you need, make a center punch, and drill a hole of the diameter you need on it. I drilled 2 mm.

Be sure to sand the holes of the burrs with sandpaper, otherwise they may later, during operation, cut off the head of the fixing bolt, sending the disc into free flight!

Now, through the hole, draw a full circle with a pair of compasses. Cut out.


Next, on the emery machine, we cut the teeth on the resulting disk in the direction you need.

Now you need to part the teeth in different directions. Through one. About half a millimeter, relative to each other.


This is necessary so that the disc does not get stuck in wet wood during operation. You can work with such a disk both on a drill and on a drill.

Although, for a drill, it will probably be a little big - it pulls poorly, there is not enough power. But if you increase the hole for a thicker mount, you can easily use it on a grinder, for cutting thin boards, chipboard, fiberboard and the like ... At the end of production, you can also sand it with sandpaper.

With mini hacksaws, who have the desire, you can sharpen the butt, such as a cutting edge, but I did not do this. The metal that the sheet is made of has a high content of pure iron, as a result of which it quickly becomes covered with a coating of rust, regardless of humidity. I wouldn’t cut products and cut mushrooms with such a blade. For planing and cutting wood, it will also be inconvenient - too flexible metal. But not sharpened butt, with sharp edges, just right for carving a spark from a flint. Due to the almost pure iron, the spark is carved oily, long-playing. It is enough to hit the flint a couple of times to get fire. As for the sawing qualities - see the video of tests in real conditions, at the end of the article. Cutting a sufficiently thick branch can be done in less than a minute. Or saw off a hard resinous root for kindling - it takes 20 seconds!


Share
Pin
Tweet
Send
Share
Send