Share
Pin
Tweet
Send
Share
Send
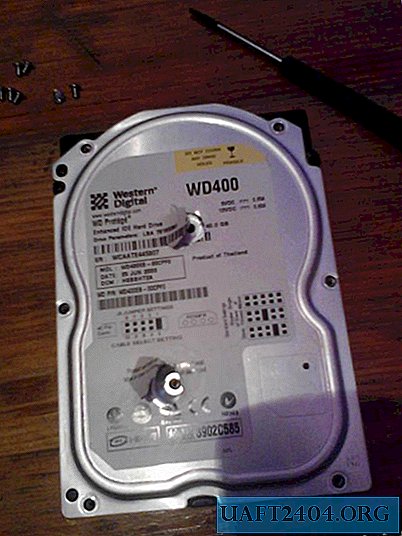
And so I decided to use the hard drive enclosure for these purposes. First you need to disassemble the hard drive and remove from it what we don’t need

Next, you need to take the LEDs and solder them into a ring, I used super bright LEDs with power in 3v. You can use almost any that are.
We solder and put them in place of the actual disk itself


After all the LEDs are soldered and stacked, I advise you to fill them with hot glue or, in extreme cases, the usual one.

Now we need a control chip itself, which is also quite simple to assemble, and so the driver circuit itself.

Everything is simple here, so contacts on UAA180 are considered

After that, we solder the LEDs to the circuit by means of wires

We connect, we check and everything should work the first time, to check it, you can connect 5 volts to the input and turn the potentiometer to see how the microcircuit responds to changes in the input voltage.
We connect the output from your audio amplifier to the input of the chip and everything will work fine.


That's all, I also want to share an idea that I failed to implement. According to the idea, if you manage to make the hard disk rotate and make a small cut in it parallel to the radius, you may be able to achieve a disk glow effect similar to the effect that is obtained in HDD Clock. I was not able to get the complex three-phase hard drive engine to constantly rotate.
Wishing to repeat good luck!
Share
Pin
Tweet
Send
Share
Send

